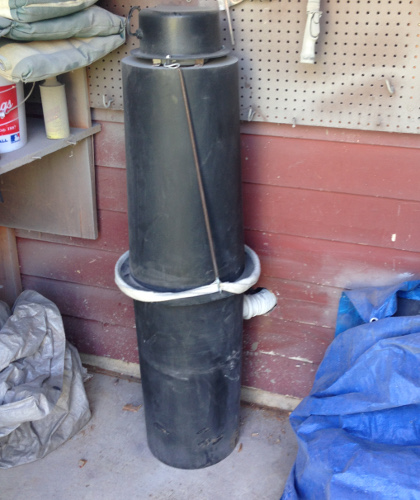
Dust collector mounted outside a wall to deaden the sound.
I recently did something I have been wanting to do for a long time, and that is to reduce the noise of my blast cabinet dust collector. This is basically a vacuum connected to the cabinet by a hose to remove all the cloudy dust inside so you can actually see what you are doing.
Comfort Matters When it Comes to Blasting
In my opinion, the little steps taken to make your sandblast area better helps reduce frustration and improves comfort. In turn this allows you to be more excited to blast rather than stressed about working with your setup.
The high noise level from the air compressor and dust collector in my garage has been making my blasting experience rather annoying. Since my dust collector hose is only about 8 feet long or so when fully extended, I was blasting fairly close to this. I usually wear ear plugs during long blasting times.
Solutions to Reduce Dust Collector Noise
There are a few ways that you can reduce the noise of your dust collector. Here is a list I have thought of:
- Extend Dust Collector Hose– the easiest route is probably to buy an extra hose or use a shop vac hose to connect them to your existing hose. Then you can either place the dust collector at a farther distance so it reduce the noise.
- Place Dust Collector Outside– if you garage or blast area has a window or door nearby, you could also temporarily route the hose and dust collector outside. You may need to use an extended hose as suggested previously also. You could also place caster wheels on the bottom of the dust collector to move it inside and outside easily. This may only be worth the effort for projects you will be blasting for hours.
- Buy a Quieter Dust Collector– I haven’t researched all of the dust collectors available but there may be some quieter models. If you are aware of these, please let us know if the comment section below.
- Build a Wall or Insulated Box– this solution may not be a good idea for the hot summer months unless you build it with a lot of buffer space and have vents so the air circulates to cool the electric motor inside. This solution may work by either building a small wall from drywall or an insulated box by gluing foam sheets together which are available at local home improvement stores. Also, you can test cardboard boxes and/or old clothes as a sound deadening material.
- Route the Hose through a Wall– this solution worked out for me because my detached garage actually had an external storage shed built on the back of it. I simply drilled a hole large enough through this wall, fed the dust collector hose through and placed the dust collector in the storage shed. If your workplace is near another room, you may only have to drill a hole through drywall. The below steps show how I did this.
Steps I Took to Relocate the Dust Collector Through a Wall
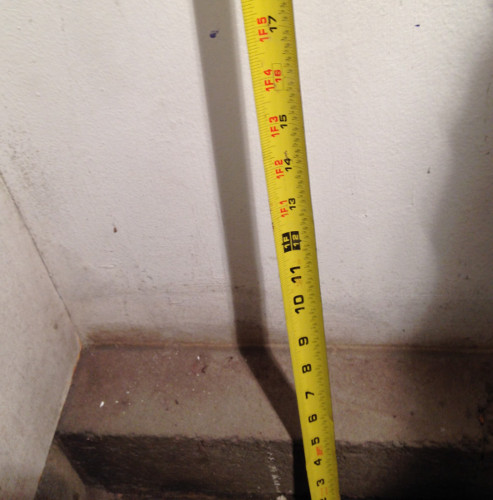 1. Measure height of the inlet hole on the dust collector and mark holes on both sides of the wall. Before you start drilling, you will want to make sure the place on the opposite side is okay. You can measure the distance from a perpendicular wall and mark this length on the other side. Once the marking looks suitable for both sides of the wall, proceed to the next step.
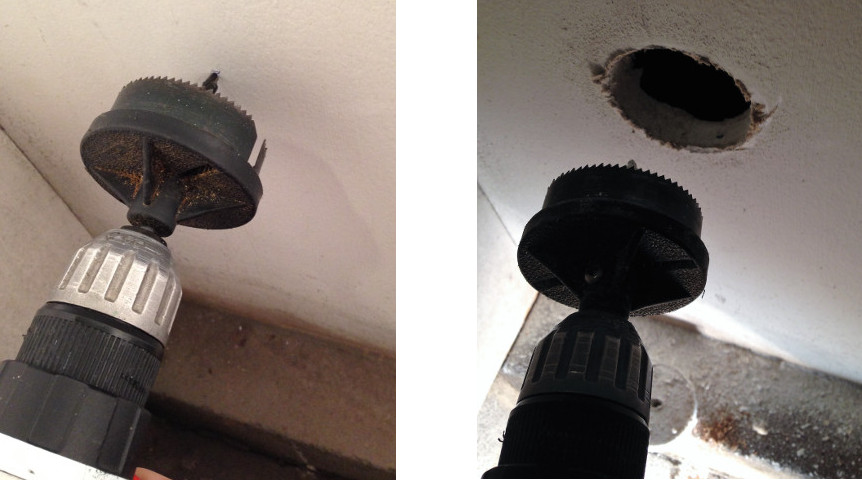
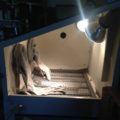
2. Drill Hole Through Inside of Wall– as shown above, I used a hole saw on the inside of my garage wall. If you are fortunate enough to have drywall like I did, you could also go as far as using a razor blade or even use a small drill bit to drill out holes around the circle.
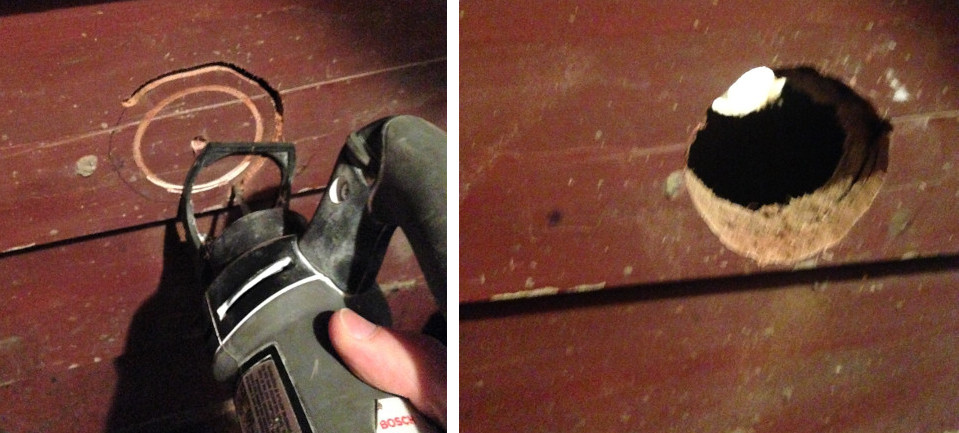
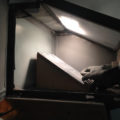
3. Drill Hole Through Outside of Wall– if you have a long hole saw blade, you may be able to drill all the way through both walls on one side. In this step, I remembered I could use my RotoZip as seen here (which is one of my favorite tools by the way) to cut out the outside hole. The wall inside the storage shed consisted of an old wood siding and an insulation board.
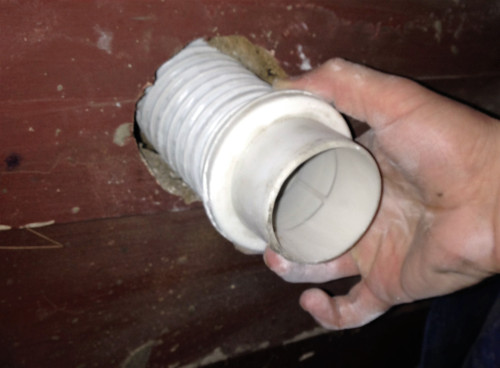
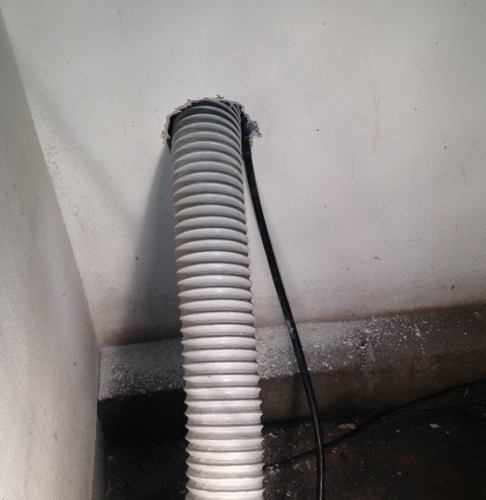
4. Feed Hose and Electrical Cord Through Hole– feeding the cord through the wall like this might not be up to code but it is more of a temporary solution. You could very well, install electrical wire in between the walls, place an electrical outlet on the outside and switch on the inside of the wall that is connected to the outlet circuit to turn it on and off.
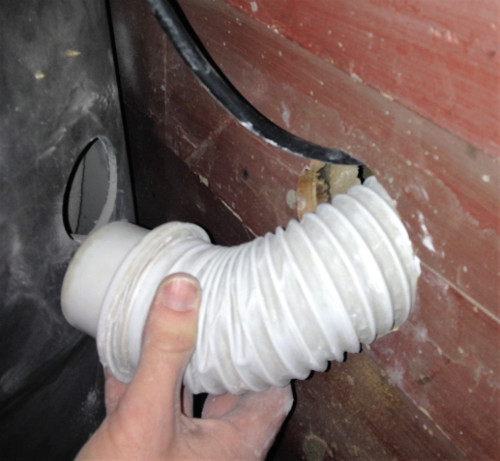
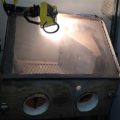
5. Connect the Hose to the Dust Collector & Plug Cord In– some dust collectors have a switch, while others simply have a cord that has to be plugged in each time it is used. As explained in a post about our cabinet light upgrade kit here, I use the outlet and switch connected to the light so I can turn on and off the whole system with one switch. It makes things a lot easier.
I hope this post was helpful. If you have any comments or questions, I would appreciate them below. Feel free to give some ideas you may have done. The steps I took isn’t the most professional route, but it doesn’t take very long to do and it is one of the best decisions I have done. If I ever discontinued blasting here, I can always patch up the hole fairly easy.



At least increase the hose diameter if you extend it much. Flexi hose offers a high resistance to air flow.
Also, if you build an enclosure for the vac, it needs to be vented. Put baffles over the vent so air can get out, but it’s impossible to see in.
A labyrinth is better.
Russ, these are some good points. Since my cabinet was right next to the wall, I didn’t have to extend the hose.
Thank you
Great stuff to know.
Thanks
Ramakrishna
Thanks! I haven’t yet- I should!
I have just started blasting rocks and stones. I am having a problem with the paint bleeding under the stencil. I am using a heavy mask. I also spray clear acrylic to seal between the mask and lettering. Any comments on this would be helpful. Thanks!!