
This is a more in depth tutorial that explains the steps I took to make the mini sandblaster nozzle pen (aka nozzle configuration).
I decided to extend this section on the blog here instead of adding it to the plans to prevent it from complicating the steps too much. Another reason is because I provide 3 options to make the nozzle in the plans and not everyone will choose this route. And I figured it would be good to share this idea openly.
Here are the parts I used:
- Carbide dental nozzle suggested in the plans
- 1/4” PEX Tubing” cut to 4-3/4” long
- 1/8” ID tubing (aka hose)
Step 1
The first thing I did was cut the ¼” PEX tubing to 4-3/4” long with a regular wood cutting saw. This was a comfortable length in my opinion. I found this tubing at the plumbing section of a home improvement store. You can use anything similar. Some ideas are to use the body of a pen, and drilling out a wood or metal rod.
You should make sure that the Inner Diameter of this tube will be snug inside once the hose is on the nozzle tip. The inside of the tube will serve as a clamp and prevent the hose from falling off. My hose worked out perfect so I didn’t have to drill out the tubing.
Step 2
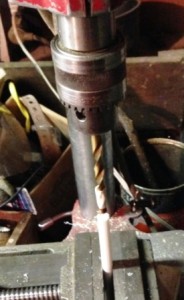 Now you have to make threads into the tubing so that it will hold the nozzle in place. Since the holder is plastic, you might be able to get away with pushing the nozzle in and turning so that it slightly makes threads.
To make it a bit nicer, you will have to use a thread tap, which is used to make threads into holes. This nozzle had a 5/16” with 24 threads per inch. Luckily, we had a tap available. To make the threads, it required a hole to be .272” (6.909 mm). The required drill bit for this hole size is the standard “I” bit. Some people might not have this drill bit available. However, since the part is plastic, it would be fine to use a slightly smaller 17/62” drill bit.
Now that you have the right drill bit, you will only want to drill into the tube as far as the nozzle tip will thread in. Measure the length of the threads and mark the drill bit to that length. I used masking tap to mark it. Drill down one side of the tube to widen it until you reach the tape line.
Step 3
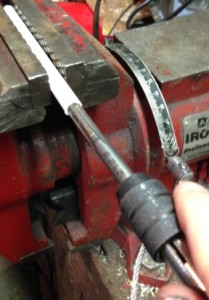 Make threads into the drilled end of the tube by using the 5/16” tap with 24 threads per inch. Slowly turn it into the tube and back it off so it cuts the threads. Continue doing this until all the threads are created. I will screw in the nozzle tip to check it each time I back off the tap.
Step 4
Now that the threads are created, push the hose from the back to the threaded end. Push the hose over the nozzle tip end. My hose was a bit smaller that the diameter of the nozzle tip, but I could get it on by pushing it on from side to side. Warming the tube up will make it easier to push on.
Step 5
Most of the nozzle has been created. Simply finish the nozzle configuration for your mini sandblaster by threading the tip into the tube you made.
Other Alternate Way with this Option

Another way is to buy a 5/16” 24 thread nut at the hardware store for the nozzle tip to thread into. You would then connect the nut to an end of the tube with an adhesive like JB Weld or weld it on if a metal rod is used. I drew up a rough idea of this option above. Forgive my bad drawing skills!
I hope these instructions were helpful and they gave you some ideas to make the nozzle. There are so many ways to make these, but leave me some comments below. Thank you

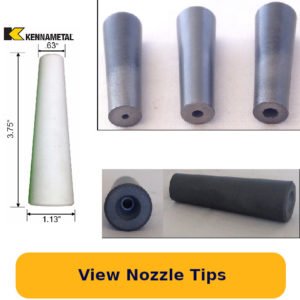

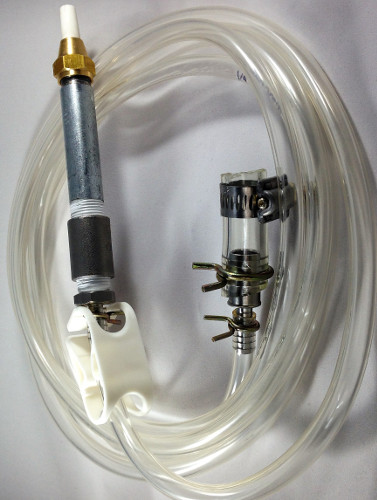
mini sand blast pen followed your ideas but I have no clue as to where to get a carbide nozzle you mentioned
Ken ………..Google “Carbide dental nozzle”.
Where can I find the fitting other end of tubing?