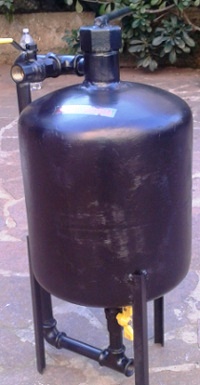
Earlier this year Cristian Galeazzi of Italy got a hold of my sandblaster plans and made a great example that I wanted to show every one else. He shared photos of his blaster which I neglected to follow up on until recently. He was friendly enough to allow me to feature him and share photos of his home made blaster.
I told him that he made his home made unit look better than mine and I wanted to share some things that I didn’t explain in the plans which will make it look great like his example. But first, I wanted to show off his photos.
Cristian’s Home Built Example
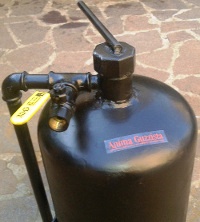
What I Liked About His & Tips
- Painting: The first noticeable thing about his that I liked is he actually painted his! I have neglected to paint mine still to this day and it is starting to rust a little bit.
- Type of Paint: Although his paint looks durable, I am not sure what he used. My suggestion is to use a durable paint which will prevent it from chipping off or scratching. Take a look at powder coating or my favorite durable paint called Chassis Saver (or similar brand). If you are on a budget, you can just use regular spray paint for a few dollars.
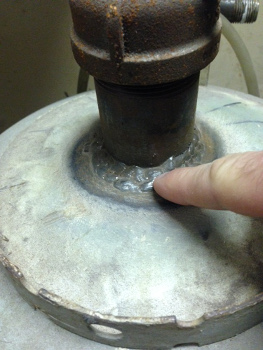
- Welds: As you can see, his welds are fairly smooth, especially around the top. If your welds don’t come out nice, you can grind the weld a little bit to make it look smoother. (I did not do this because I was in a rush).
Extra Things to Consider
These are some extra suggestions that I didn’t include in the plans. Eventually I will update them. In the meantime, please reference this section:
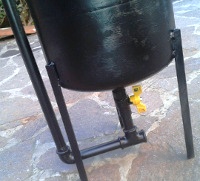
- Including Pipe Union– A few people emailed me about this and I really should have included it. I didn’t include it because the plans were for the budget minded, it may never be used, and therefore might be unnecessary. After welding the top together, the left pipe which feeds air to the bottom is permanent. You can never remove it unless you cut it. If you don’t want it to be permanent, you can include a pipe union.
- Include wheels– To make these sandblasters easier to transport, you may want to attach wheels to 2 of the back legs. Just make sure you weld the legs correctly to accommodate the wheels. To place the wheels, you would need to weld a rod onto the legs which will serve as the axle. Then drill a hole perpendicular to the axle near the end. That will allow for a cotter pin to be placed through it and hold the wheels from falling off.
I hope this was helpful and you enjoyed Cristian’s example. Feel free to leave a comment asking me anything or leaving any suggestions.
P.S. Thanks Cristian!

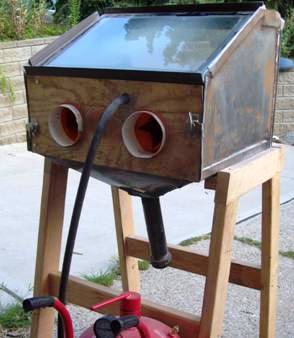

I would like some feed back on the best money spent on a sandblasting cabinets. I’m also interested in doing the large scale (portable) jobs and am looking for ideas there. Need to know the best equipment to use. thanks…
Please can you assist in building a suitable sandblaster for a big tankfarm of
about 30 million metric tonnes for premium motor spirit.
Great idea i’ll try to apply and in case i have any question i’ll contact u.
thanks